The following instructions assume the user is using a supported version of ATI Vision. These instructions were transcribed against a supported version but it may be that these instructions match other versions of the tool.
They also assume that an ATI Vision Hub is used. If another communications device is used, the user will need to deviate from these instructions.
Before building an application, select the Generate ATI Vision Strategy file RTW option (see Section 4.3.4, “Configuration options” for more details about how to do this). Alternatively, follow the instructions for creating an ATI Vision strategy described in Section 2.3.1, “Creating a new project and strategy in ATI Vision”.
Add this strategy to the tree list by right clicking on the PCM item and selecting "Add Strategy...", browse to the location where you saved the strategy file and select it.
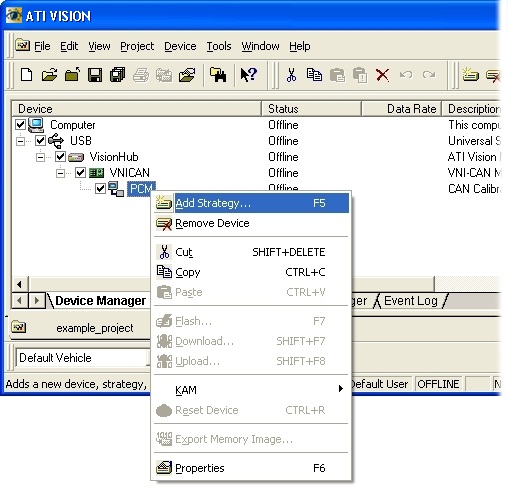
This will add two items to the tree view, one for the strategy and one for the calibration data immediately below it.
If CCP seed/key security is to be used, copy the relevant DLL(s) into the same location as the strategy file.
To try out the connection, go online by selecting the menu option Project->Online.
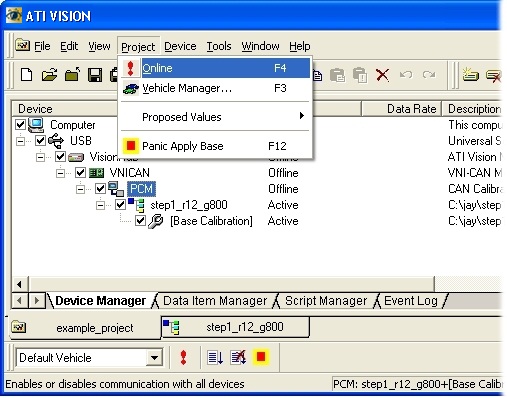
The tree view will change to show that each of the devices previously added are communicating correctly:
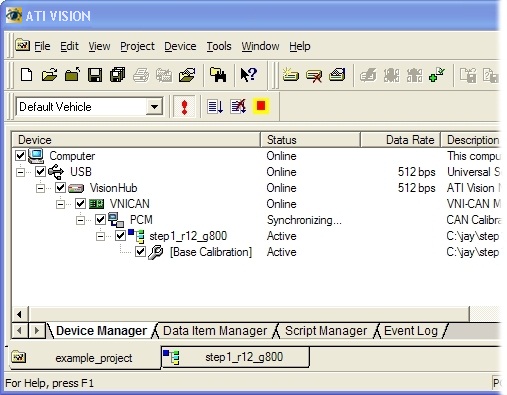
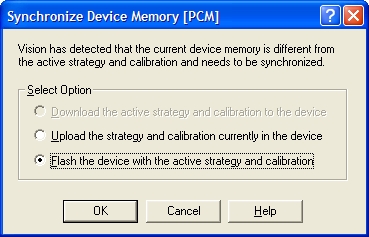
and brings up a dialog box:
If any of the devices show a yellow or red mark, then there is a physical disconnection or CCP communications error (e.g., different settings for CCP in the OpenECU device and the application). The dialog box will not pop-up and you will not be able to Flash the device. Go back and check that each of the settings corresponds to physical devices and CCP settings, check that CAN is connected to the correct pins and try again.
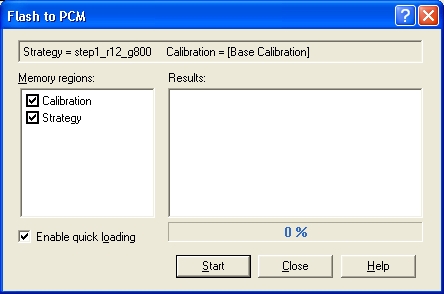
To program the OpenECU device with the strategy, select Flash then OK. This brings up a dialog box which shows which memory regions on the OpenECU device to program. Select Start to program the device.
Note
In order to reprogram or Flash the OpenECU device, the OpenECU device must be in reprogramming mode. For details on how to enter reprogramming mode refer to Section 4.5, “Programming an ECU”
Once programmed, the FEPS must be disconnected (if used) and the OpenECU device power cycled. This reboots the OpenECU and starts to run the application.
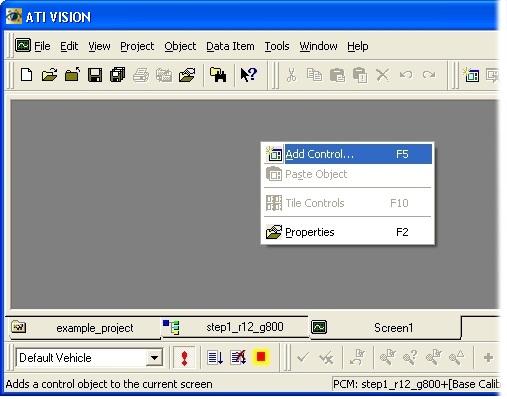
You can now view ASAP2 entries by creating a screen and adding the application signals and calibrations you wish to see. Select File->New, then Screen File. The main window will change. Right click on the background and select "Add Control".
For now, we will only look at scalar values by selecting Data List items, but 1-d and 2-d maps are supported, as well as recorders etc..
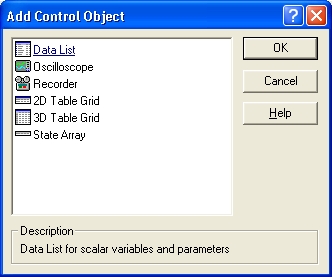
Select Data List and you will be presented with a dialog box which lists the ASAP2 entries.
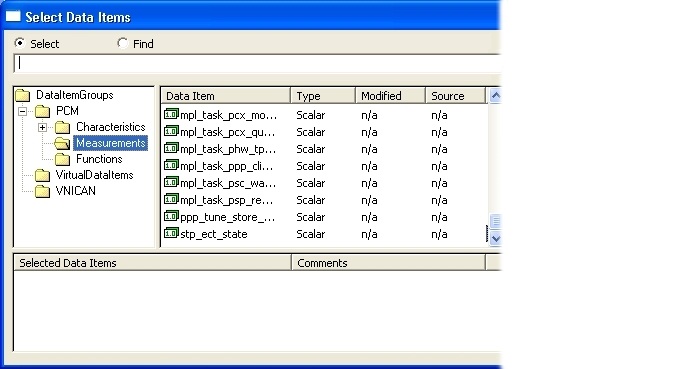
Double click on
stp_ect_stateand then select OK. You will be presented with the current value ofstp_ect_statein real-time.
At this point, you have managed to connect ATI Vision to OpenECU,
download the step1 application and view one application signal in
real-time. Please refer to the ATI Vision user manual for more details
about how to use ATI Vision.